For many years I’ve done group portraits as my company Christmas card, always a group of just me as if it’s taken at my own company’s Christmas party. And because I personally see each job through from beginning to end, I wear a few different hats and the card has become a growing joke, getting better each year. Well here is my card and how I created it.

Clients, especially children that come in are always asking me how I shoot my group photos of myself, so I decided to share with you my process.
First I mapped out the entire shot, and decided on which images I’d need, where the various people would be positioned throughout the image. I needed depth, but didn’t want anyone in front of anyone else. I even have three people tied together with garland, all handing each other the same strand. It all has to look real and work. Each person had to be working together naturally, and that meant thinking about how the angles and lighting should be.
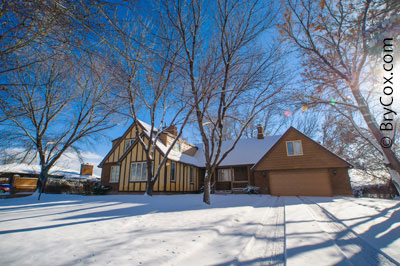
Once it was mapped out, I began photographing the pieces. I started with my studio/home. I needed to use open area of the front and didn’t want it covered with the cedar fence and line of trees in front. So I used a wide angle up close to get the entire home in the shot without the fence and trees you’d see from the street. This gives me the best angle on the place but causes bending on the vertical lines, that I will fix later.
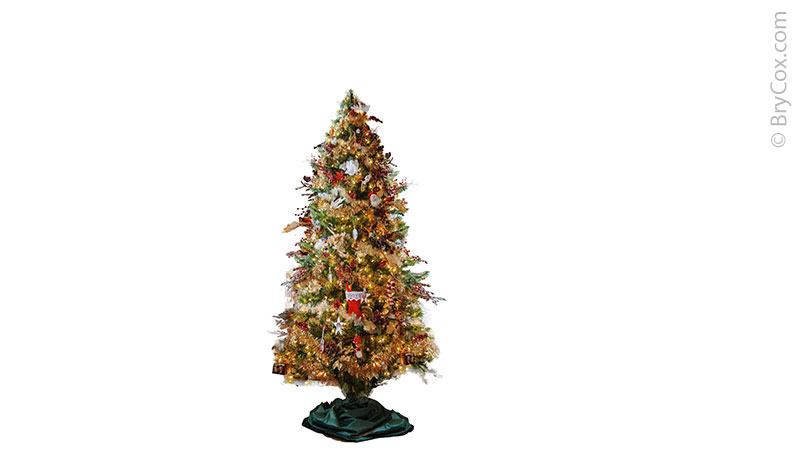
Next I photographed my folks’s tree in their home. My mom always puts together the best tree.
Then back at the studio I photographed each remaining part on my fashion gray background so that they could be extracted easier. Extractions are not easy nor fast, but a solid gray background makes it easier at least.
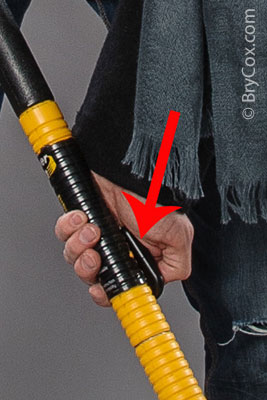
To fit a large ladder in the studio on gray, I chose my smallest ladder, and doubled the size of the legs digitally, adjusting too for the perspective of the steps. I then photographed each version of myself, imagining where each would be positioned in the final image, but used the same step on the ladder to stand so that I’d fit in the studio shot.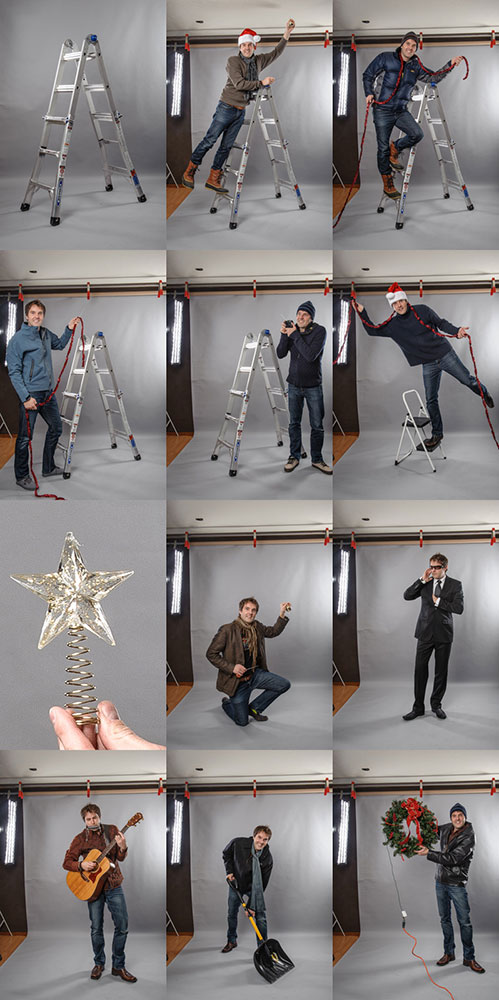 Each photograph was fired with a remote that I am hiding in one of my hands. For instance, in the shovel image, I’m holding the remote up against the shovel’s handle. Once I’m in position, I fire the shot. After each shot, I change clothes, set up the next image, and shoot again.
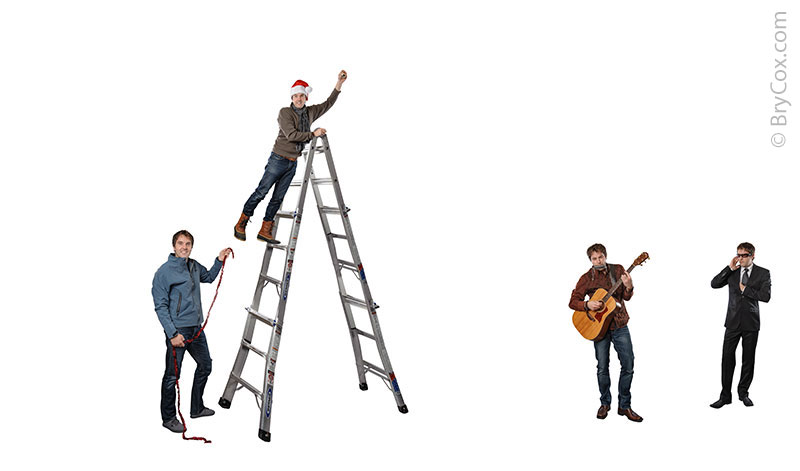
After all the camera work, the digital work begins. I started with the individual versions of me, each extracted off the gray background and placed in the shot where they were mapped out. The ladder was also extended taller, being key to making sure all the other people were in the right spots and in proper perspective.
Slowly the group began to grow, and the star was added in the hand on top.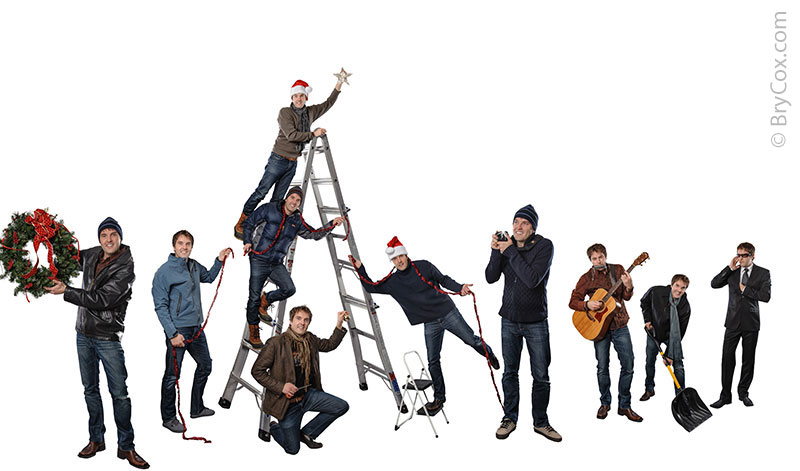
Then I extracted the tree off the living room background and prepped it.
The tree was brought in and more details were brought together.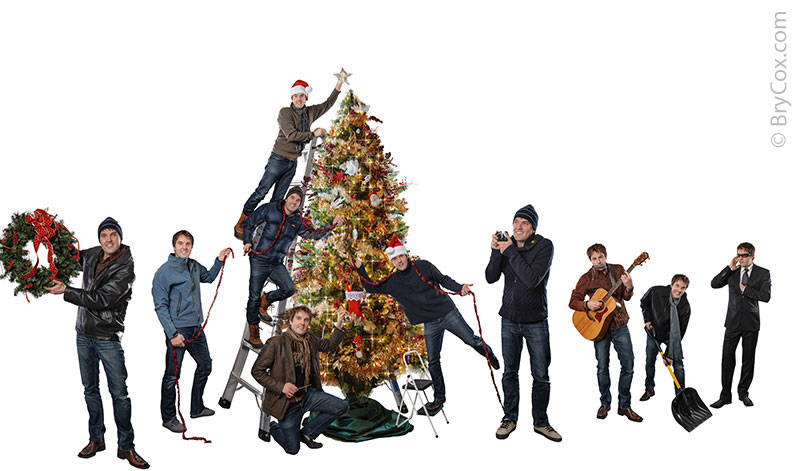
Then to the background. I corrected the vertical lines, and the image was cropped to fit the final piece.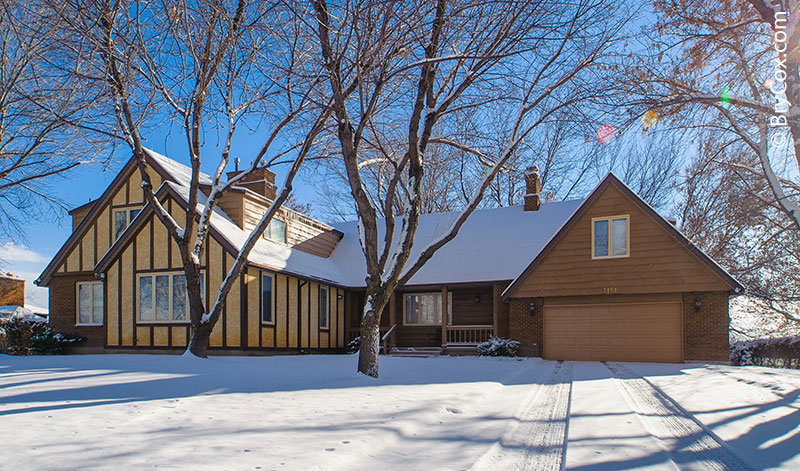
I then created snow from scratch and added it throughout, fading out the home as well for a misty look and to keep the background from being too busy and competing visually with the foreground.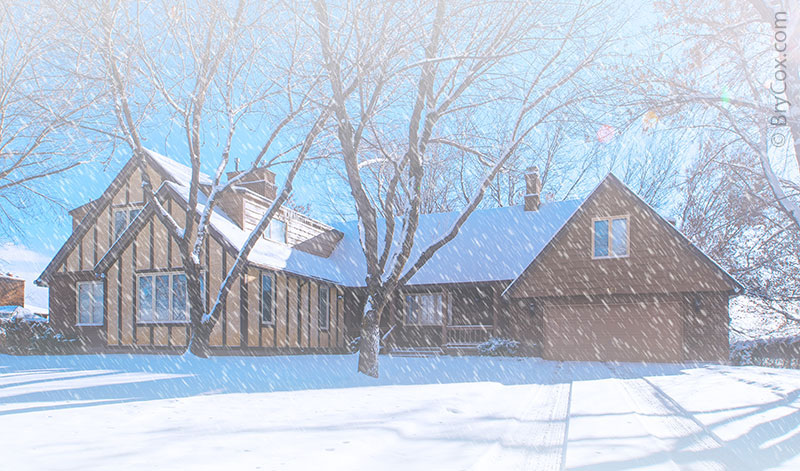
The background was added to the crowd, and more details were added like sparkles on the Christmas tree’s lights.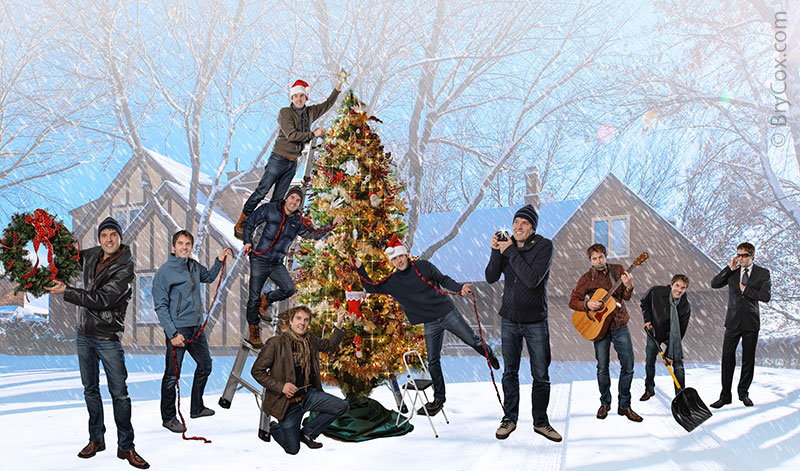
Once the background was in, people needed to be moved slightly on the right side to work better with the background. Once they were in place, shadows were drawn in so that each person and object cast a shadow that matched the lighting from the sun behind. Each point of contact with the snow was then painted up close so as to “drop” everyone into the snow so they didn’t look like they were on top. That, along with creating custom shadows, help give the final piece a more 3D look and not a flat, fake look. There’s much more I could do to make it look real, but a little of that fake look will help with the comedy effect.
The star was also given a nice sparkle. More snow was added around the edges to create a natural white vignette to keep the focus inside the image, and the tree’s trunk was finished as well.
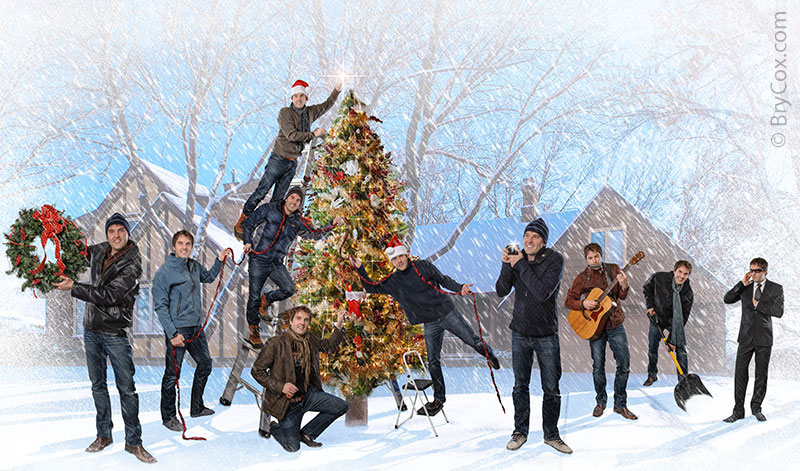
Finally, I used one of my custom edges to finish the piece, added the text, and the legend of who everyone is at the bottom. And the finishing touch as always, is adding my signature, in this case in the bottom left.
So what’s your guess on how long it took to complete this project? All in all, it took about 23 hours including both the camera and digital designing time, and that doesn’t count working with the printer and mailing company to get it all out to each of you. Hopefully when it comes, it brings a smile to your face. If your address has changed, let me know so that I can update it for the next mailing I send out.
I hope all of you have a joyous season with family and loved ones. Merry Christmas!!
And until next time, America.

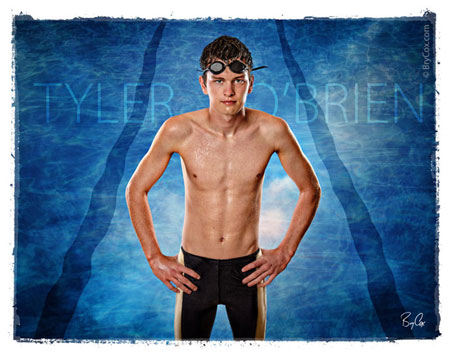
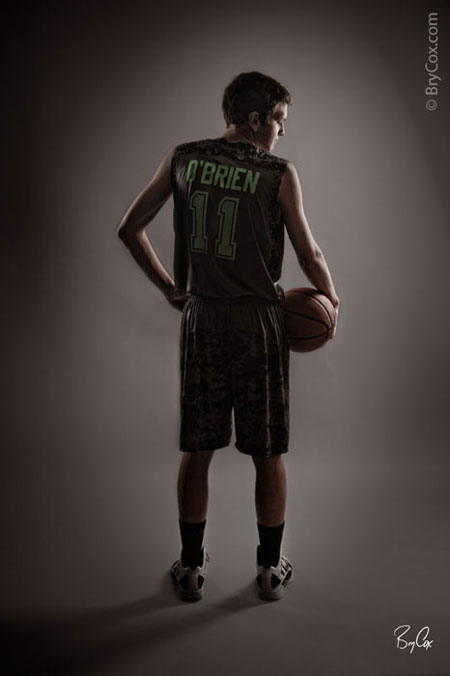
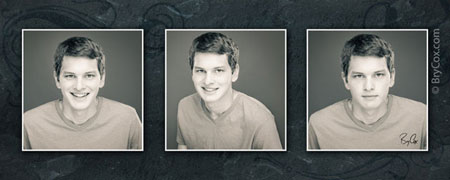
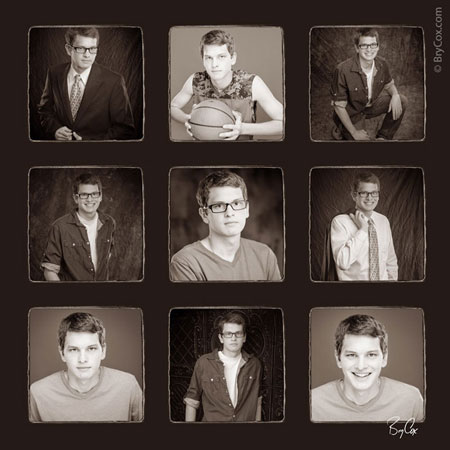

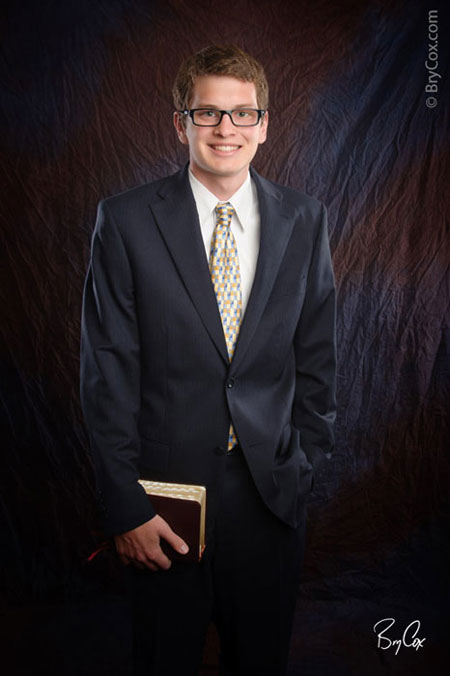

 Great shoot Tyler, and good luck on your mission!