fake

Band Portraits for Ryan Shupe & the RubberBand

This week Ryan Shupe & the RubberBand put on a show outside of Salt Lake City, Utah, and we used the opportunity to shoot some new band portraits. These kinds of images are used for posters, marketing, web sites, and overall band promotion.

Band portraits need to be iconic, visually interesting, they need to show the vibe of the band so that you know what a live show will be like. Band portraits need to show personality, they can’t be mundane or normal. So all of that means that band portraits are no different than any other portrait I create for people – they need to have exquisite lighting and emotion.

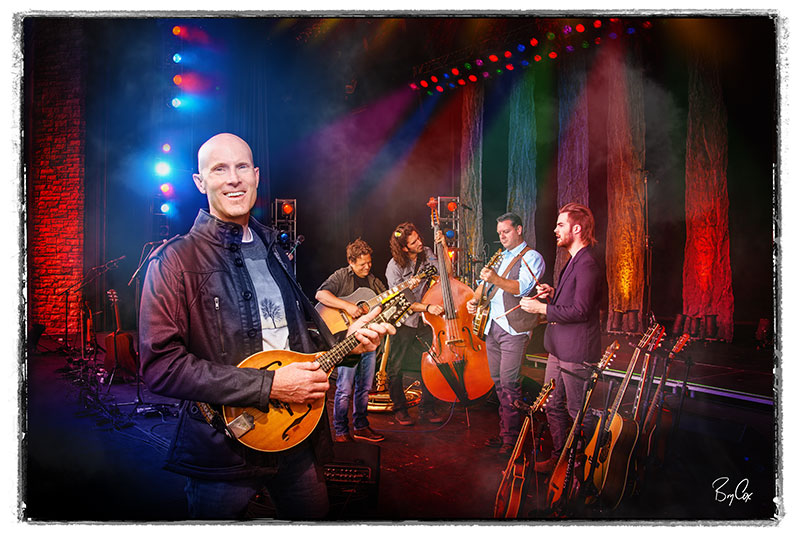
For this image, I envisioned the band on stage with Ryan up front looking right into the camera. I wanted instruments showing and also all the feel of the stage with the stage lights and smoke – except it’s not possible to do a shot like that during the show with an amphitheater full of people. It had to be shot during the day before the show. So I set it up, lit the scene, and shot it knowing I’d be recreating from scratch the entire “feel” of the stage later in post production.
Cox_RShupe_Sandy2015-178-Edge

Above is the final version after all the digital work. And below, is an animation of my progress. In the animation it may come together in just a few seconds, but it didn’t take seconds to make.

Notice how in the first and completely raw shot, the skin tones and lighting on the individuals is perfect, but it’s in the middle of the day. It doesn’t look like night and there are no stage lights. From there I slowly build it up, painting in from scratch the stage lights, the atmosphere, the smoke, as well as the effects of the colored lights on Ryan, his jacket, on the band, and on the walls. I’m constantly asking myself, how would this light affect the scene? Where would it be visible? Because of where Ryan is standing, he is being lit with the most diverse set of colored lights from various places. How those lights all skim across his black leather jacket have all been painted in.

The result is something both real and natural to the eye, but also is a shot that could not have been created otherwise. It’s an impactful image.

BryCox_RShupeBandPic_Animation1b

This second band portrait was created to look real and natural, to be impactful, and to also show the energy of the group. But it wasn’t originally shot like this either.
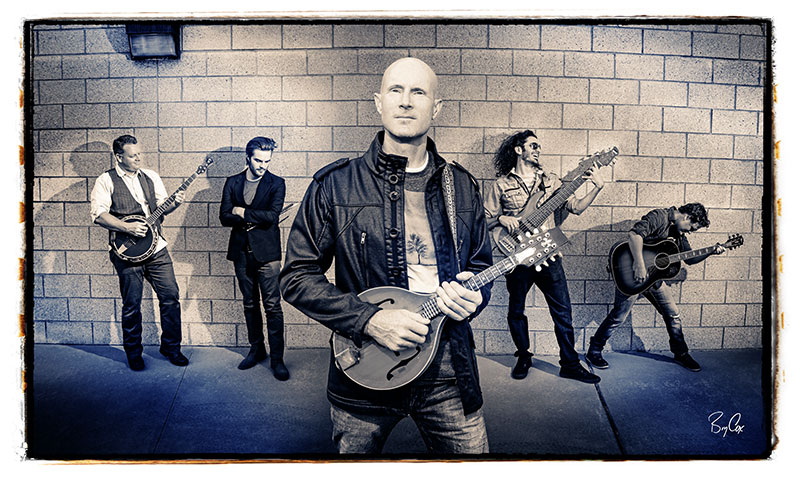
Cox_RShupe_Sandy2015-BandPhoto1-bw2-Edge

To create it, I individually lit and shot each band member separately. I then took the best of each individual and put this together, lining up each brick and line in the background to match the bending perspective shift created by my camera’s angle and lens choice. I really liked the wide angle feel and the bending of the bricks created by that. There was a lot of very small and detailed painting needed to get all of these image to seamlessly blend together, and for shadows to fall where they should, and for the creation of shadows and mixing shadows. But the end result is a really cool and iconic band picture.
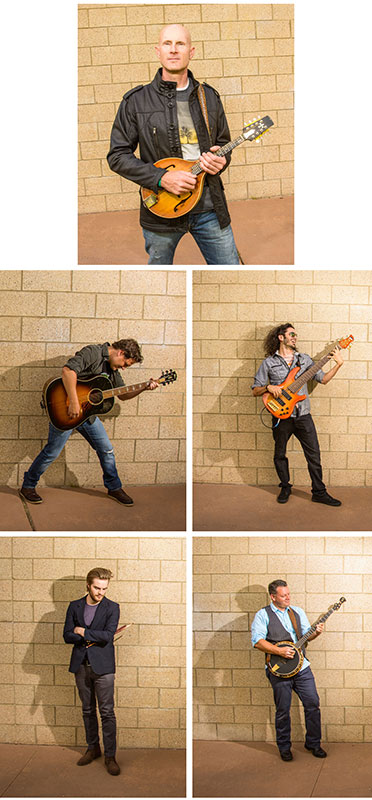
BryCox_RShupeBandPic_parts

Here it is in color too before the final conversion to black and white. This color image could work for a lot of purposes when color is required, though in the black and white I did multi-tone it so that it grabs the eye even in b&w.
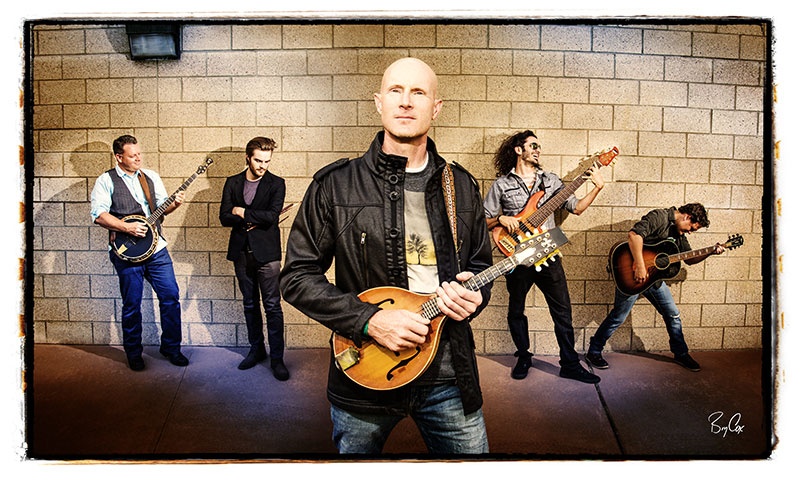
Cox_RShupe_Sandy2015-BandPhoto1-color-Edge

I was also hired to shoot some concert images during the show later, and I’ll get to posting them soon too. But for as much time as these took to create, I wanted to post today about these these band photos and what really goes into sometimes just one or two commercial images.

There are lots of commercial needs for great photos, some that require almost no Photoshop and post-production and some (like these) that require a lot. My specialty is lighting and emotion and I’m on the Adobe software team training photographers all over the country on advanced clean and natural Photoshop techniques. So for all your commercial imaging needs, give me a call at 801-728-3317. Tell me what business you’re in and what you’d like and let’s make it happen. Let’s create some iconic images for your business that make you shine.

And until next time, America.
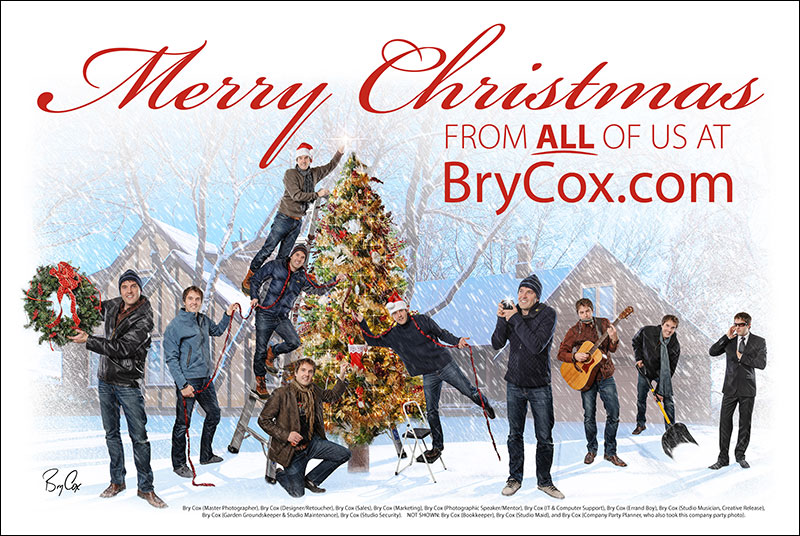
How I Created My Christmas Card, A Group Portrait of Me

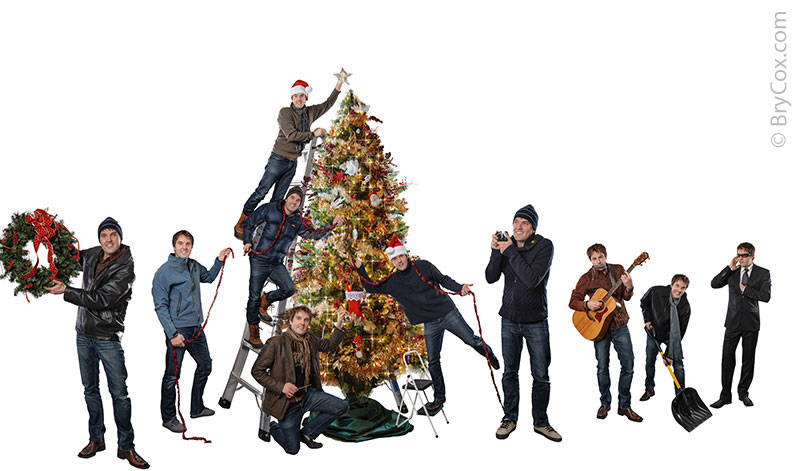
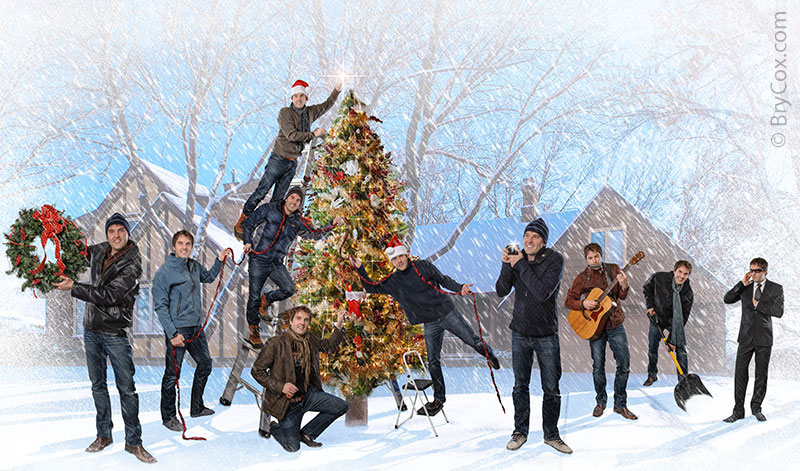
For many years I’ve done group portraits as my company Christmas card, always a group of just me as if it’s taken at my own company’s Christmas party. And because I personally see each job through from beginning to end, I wear a few different hats and the card has become a growing joke, getting better each year. Well here is my card and how I created it.

Cox-Christmas-2013-Card-Design-2-final

Clients, especially children that come in are always asking me how I shoot my group photos of myself, so I decided to share with you my process.

First I mapped out the entire shot, and decided on which images I’d need, where the various people would be positioned throughout the image. I needed depth, but didn’t want anyone in front of anyone else. I even have three people tied together with garland, all handing each other the same strand. It all has to look real and work. Each person had to be working together naturally, and that meant thinking about how the angles and lighting should be.

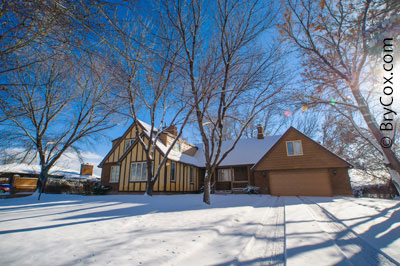
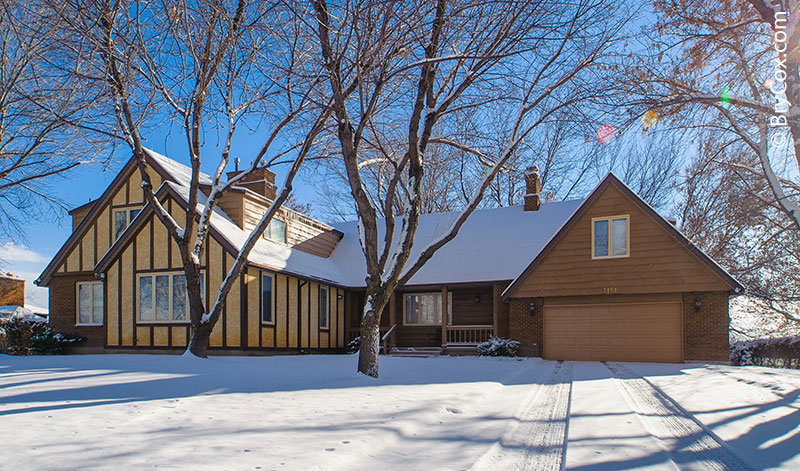
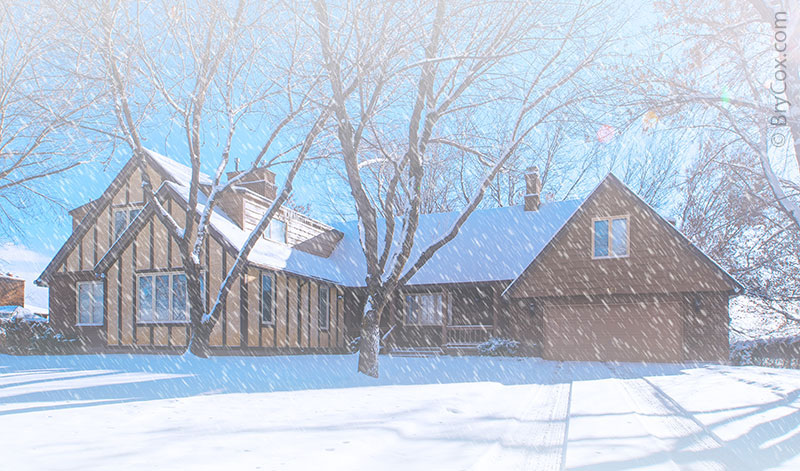
Once it was mapped out, I began photographing the pieces. I started with my studio/home. I needed to use open area of the front and didn’t want it covered with the cedar fence and line of trees in front. So I used a wide angle up close to get the entire home in the shot without the fence and trees you’d see from the street. This gives me the best angle on the place but causes bending on the vertical lines, that I will fix later.

Cox_Christmas2013-104

Next I photographed my folks’s tree in their home. My mom always puts together the best tree.Cox_Christmas2013-114

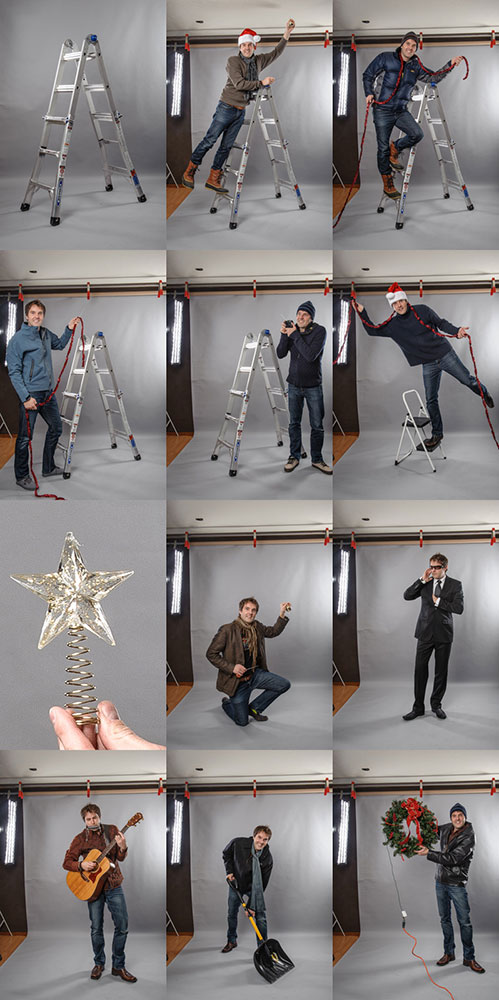
Then back at the studio I photographed each remaining part on my fashion gray background so that they could be extracted easier. Extractions are not easy nor fast, but a solid gray background makes it easier at least.

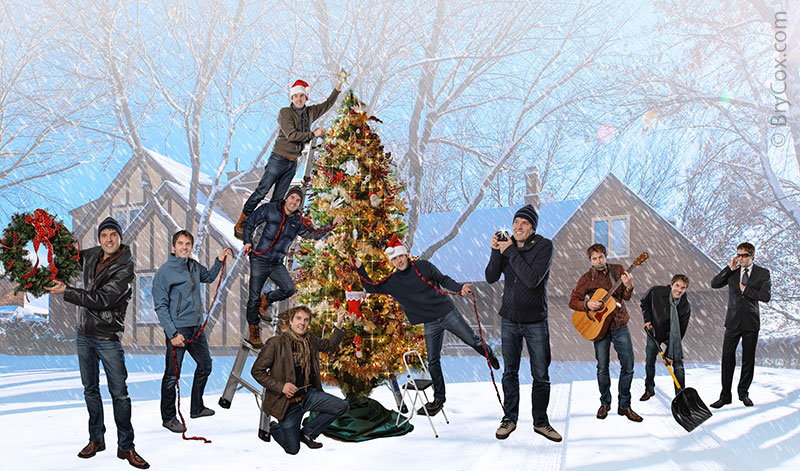
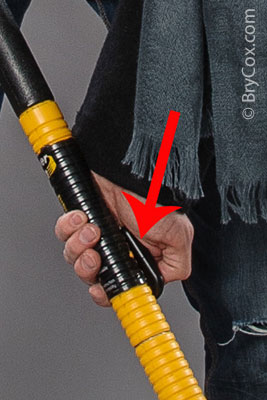
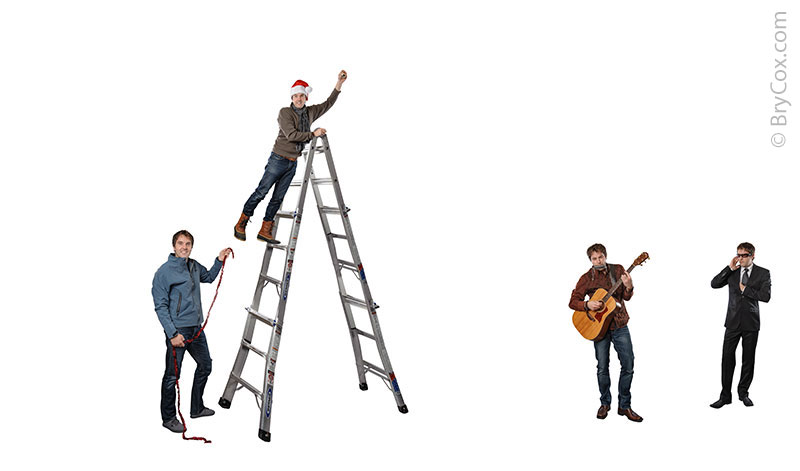
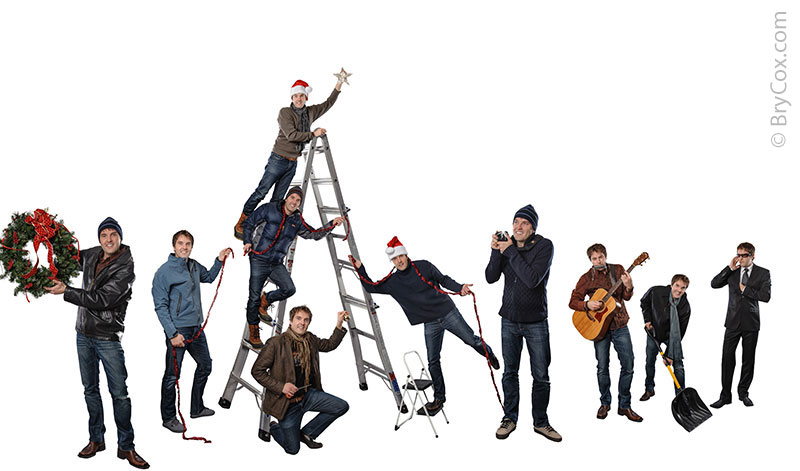
To fit a large ladder in the studio on gray, I chose my smallest ladder, and doubled the size of the legs digitally, adjusting too for the perspective of the steps. I then photographed each version of myself, imagining where each would be positioned in the final image, but used the same step on the ladder to stand so that I’d fit in the studio shot.Cox_Christmas2013-groupEach photograph was fired with a remote that I am hiding in one of my hands. For instance, in the shovel image, I’m holding the remote up against the shovel’s handle. Once I’m in position, I fire the shot. After each shot, I change clothes, set up the next image, and shoot again.
Cox_Christmas2013-198-2

After all the camera work, the digital work begins. I started with the individual versions of me, each extracted off the gray background and placed in the shot where they were mapped out. The ladder was also extended taller, being key to making sure all the other people were in the right spots and in proper perspective.

Cox-Christmas-2013-Card-Design-1b

Slowly the group began to grow, and the star was added in the hand on top.Cox-Christmas-2013-Card-Design-1c

Then I extracted the tree off the living room background and prepped it.

Cox-Christmas-2013-Card-Design-1a

The tree was brought in and more details were brought together.Cox-Christmas-2013-Card-Design-1d


Then to the background. I corrected the vertical lines, and the image was cropped to fit the final piece.Cox-Christmas-2013-Card-Design-1e

I then created snow from scratch and added it throughout, fading out the home as well for a misty look and to keep the background from being too busy and competing visually with the foreground.Cox-Christmas-2013-Card-Design-1f

The background was added to the crowd, and more details were added like sparkles on the Christmas tree’s lights.Cox-Christmas-2013-Card-Design-1g

Once the background was in, people needed to be moved slightly on the right side to work better with the background. Once they were in place, shadows were drawn in so that each person and object cast a shadow that matched the lighting from the sun behind. Each point of contact with the snow was then painted up close so as to “drop” everyone into the snow so they didn’t look like they were on top. That, along with creating custom shadows, help give the final piece a more 3D look and not a flat, fake look. There’s much more I could do to make it look real, but a little of that fake look will help with the comedy effect.

The star was also given a nice sparkle. More snow was added around the edges to create a natural white vignette to keep the focus inside the image, and the tree’s trunk was finished as well.

Cox-Christmas-2013-Card-Design-2h

Finally, I used one of my custom edges to finish the piece, added the text, and the legend of who everyone is at the bottom. And the finishing touch as always, is adding my signature, in this case in the bottom left.

Cox-Christmas-2013-Card-Design-2-final

So what’s your guess on how long it took to complete this project? All in all, it took about 23 hours including both the camera and digital designing time, and that doesn’t count working with the printer and mailing company to get it all out to each of you. Hopefully when it comes, it brings a smile to your face. If your address has changed, let me know so that I can update it for the next mailing I send out.

I hope all of you have a joyous season with family and loved ones. Merry Christmas!!

And until next time, America.