I taught a weeklong photographic workshop called ‘Evergreen’ outside of Seattle in a small town called Port Townsend. Here are some of the images from that event.
Usually as I travel and move, I create images — it’s like a part of my brain that doesn’t turn off. I see abstract shapes in everything around me.
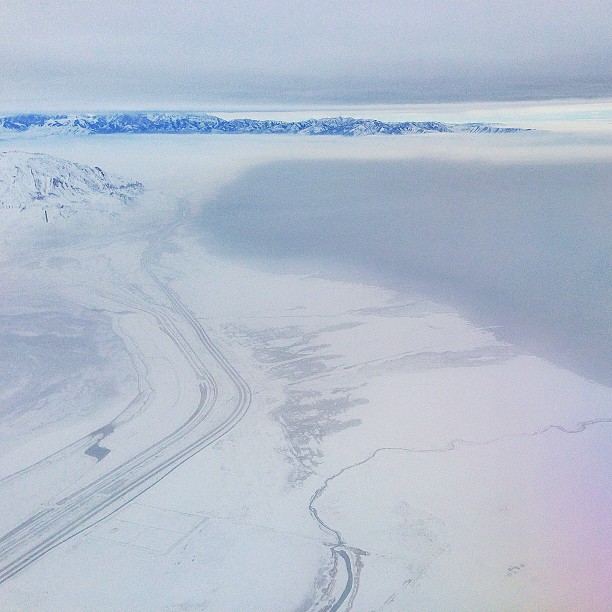
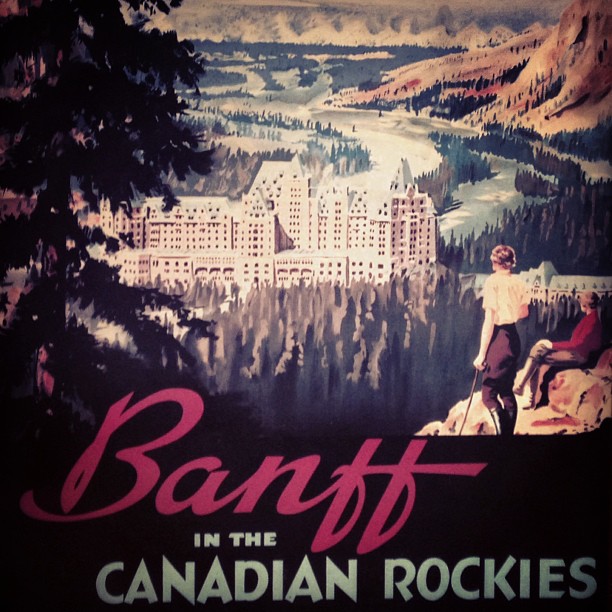
For a while now, I’ve created some of these images on my iPhone because it makes it extra fun. You see, the iPhone in its simplicity, doesn’t have any exposure controls, so so I have to think around its limitations. That particular method of thought makes me think differently and I tend to create different images than I normally would.

While teaching, I demonstrate various types of equipment and techniques. All of these image were created in front of the group, from the initial creation, to the workflow and the final retouching.

We also used a minimal amount of equipment, staying as mobile as possible, and used backgrounds and locations right there within walking distance. When I’m shooting at a workshop, I specifically like to focus on teaching three things:
1) Make the most of what you’ve got. For instance, instead of wondering if there’s a better place nearby, instead ask yourself how you can make a particular area work as a cool background?
2) We don’t want just good images, we want to create fantastic images that have punch and emotion.
3) We want all the work to be done in camera so that we don’t have to fix anything later. The images should be perfectly exposed, have the perfect color balance, have a strong emotion and believable expression, and be lit with control from the right angles. That way anything we do to the image later will be for fun instead of to fix it.

Most of these images have very little work done to them, and what work was done was done quickly in front of the class using special techniques and some of my specific products. In fact, using these techniques it seems that it actually takes more time to pick favorites than it does to finish them up.
So these girls told us that a lot of local photographers use the area for senior shoots, so we really wanted to create unique images, find cool nooks, and use the area in new ways.

I think you can tell that the shoot was a lot of fun for everyone.


Hopefully you can see that we really created a lot of variety, and used all sorts of areas to our advantage. We wanted to create a lot of different looks as quickly as possible, and make something wonderful from each spot.


That night after dinner, we invited the girls to come meet us in town for some night shooting. Instead of the normal dark or flat images that are typical at night, instead I showed how to create depth and how to get perfect exposures while working with various off-camera flashes.

The challenge here was to show that no situation is difficult when we really understand light. Below, is a mulit-light setup using a streetlight for interest. I angled her so that the wind was working with her hair, and I really like how these turned out.


And finally we took our model Lane, out on the pier, looking out towards the water. The first image is a photograph, and the second is a painting that I created from another photograph in the series.


If you’re looking to attend one ofmy photographic workshops, please check out my workshop site, at BryCoxWORKSHOPS.com. There are new ones being announced all the time. I hope to see you at one soon.
Until next time, America! 🙂

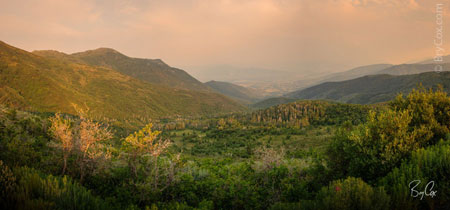
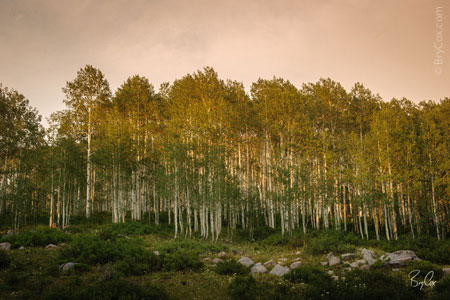
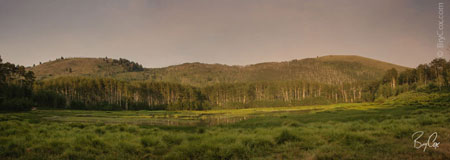 While I was driving, the time of day was perfect, the sun was setting and these meadows and aspens really glowed with the low angled light. Plus it was fire season, so there was a lot of smoke in the air which added to the dramatic look of the setting sun.
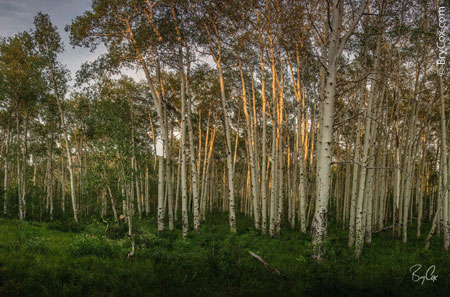
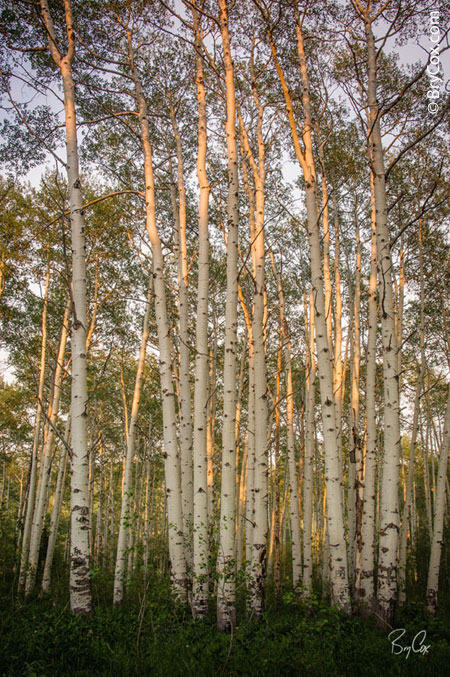
 This black and white was particularly fun and probably one of my favorites from the day. I’d really like to make this up large and have it in my home.
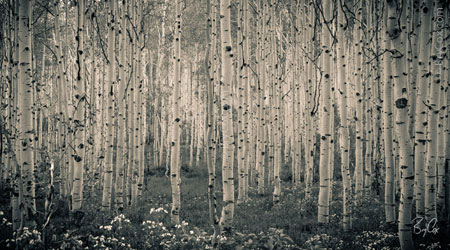 And this last image shows a real teepee off in the distance, used by a rancher. The warm smokey air in this image really makes it for me.
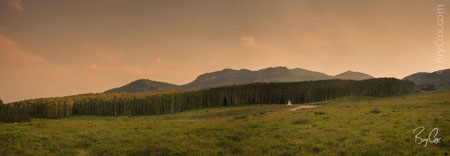


 So with a change of clothes, I continued to teach and shoot this model, walking around the town, making sure that each pose and lighting set up made her look great.


