master photographer

Kelly’s Beautiful 5 Month Old Baby (Part 2)

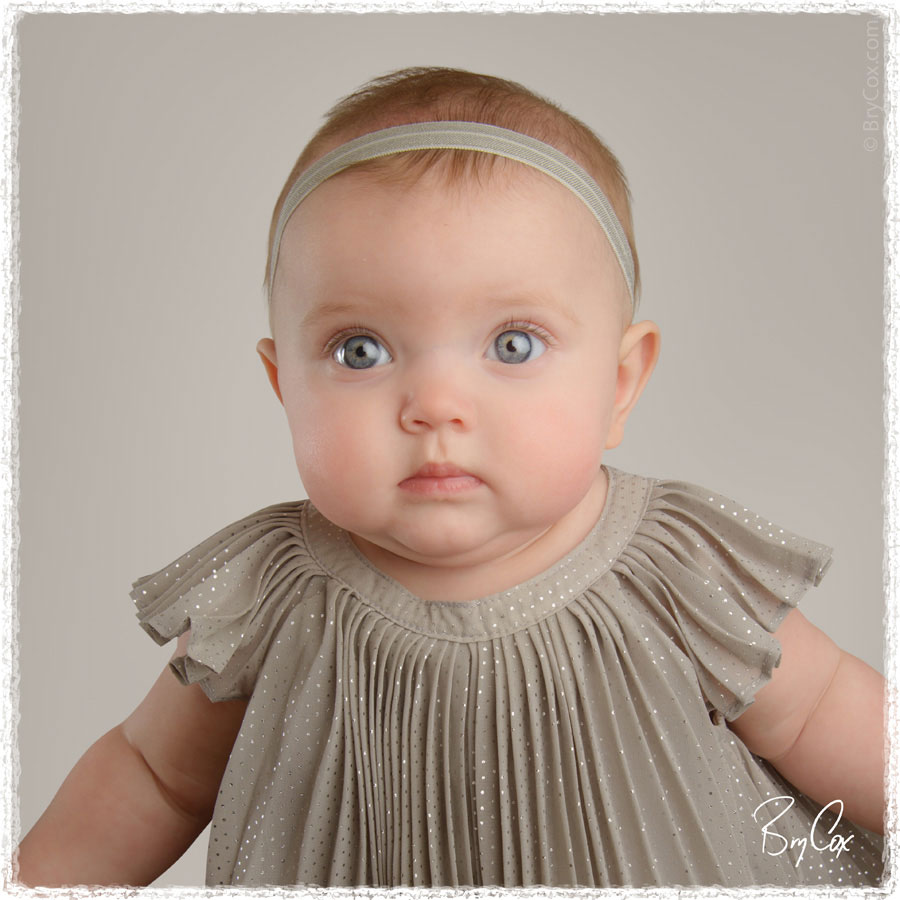
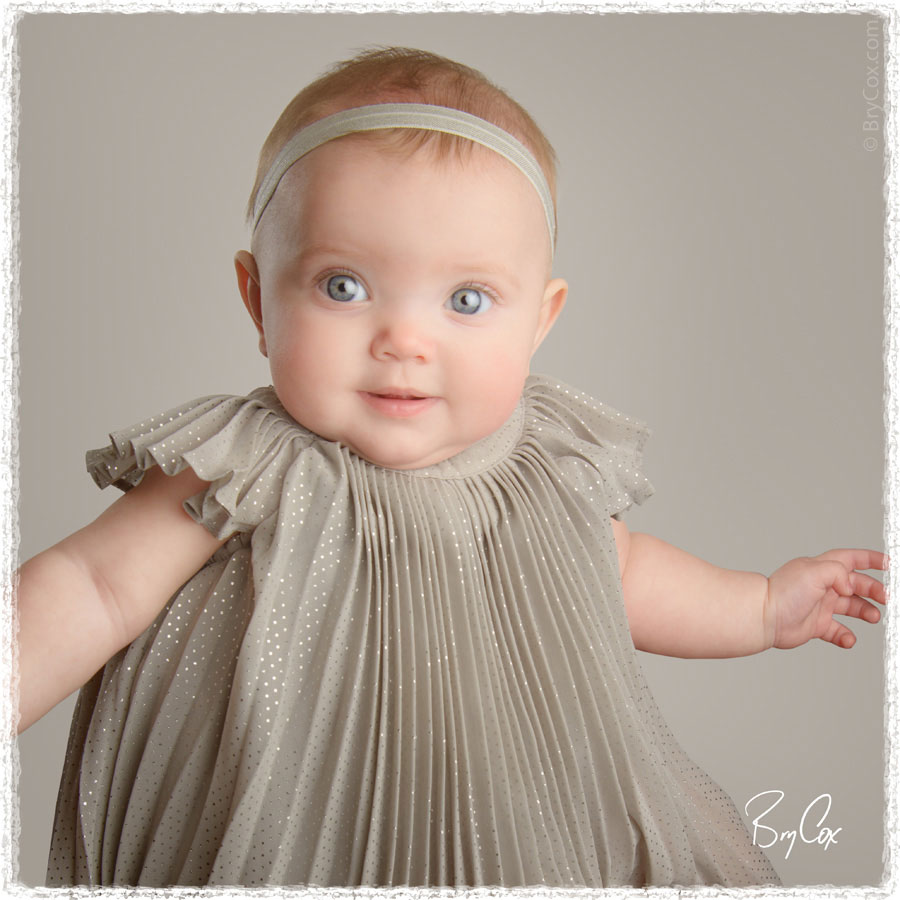
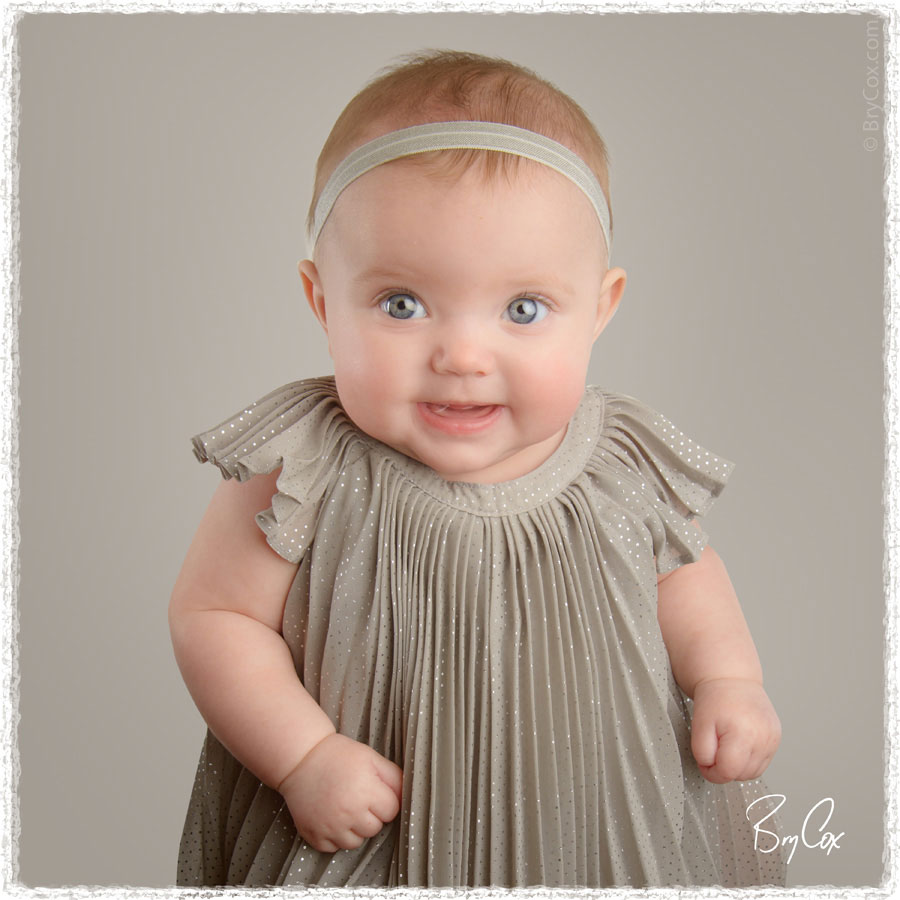
Here are some more favorites from this shoot with this beautiful baby girl. I shared earlier some images of her in pink, and to contrast those these are all in neutrals. I just love this little girl, her big eyes, sweet smile, and her cute little chin. We got a lot of wonderful expressions during this shoot. And those looks combined with master lighting techniques to make her eyes and soft skin pop, has produced a portrait shoot that I can’t stop staring at.

I love this smile above, but I also love this serious expression below too. The serious look shows off her features like her cheeks, little chin, big eyes, and cute mouth.

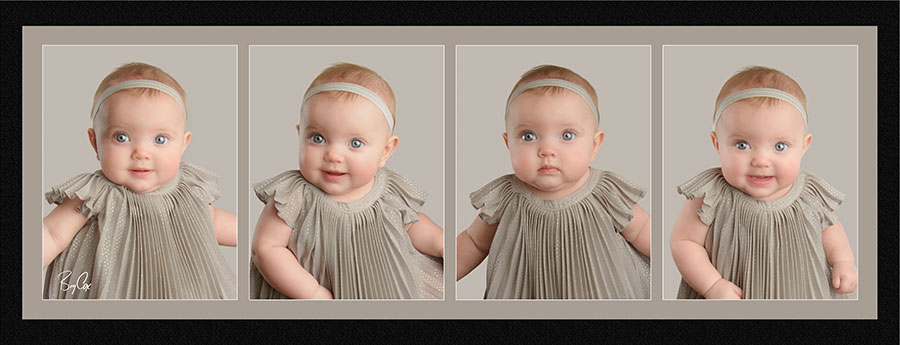
In one photo shoot we were able to get quite a variety of looks and expressions, and even different outfits and sets. The pink images are captivating and beautiful, but these images in neutrals are wonderful in their own way too. It’s hard for me to pick a favorite. But I will admit to coming back and looking at this shoot again and again to see this cute face.

All of these neutral images framed in a series would look great in a nursery or hallway.

Babies change so fast and now is the best time to photograph them. And I love photographing babies. If you have a new baby and would like some wonderful and captivating portraits, give me a call at 801-728-3317. I’d love to create something special for you for the holidays.

And until next time, America.

Kelly’s Beautiful 5 Month Old Baby (Part 1)

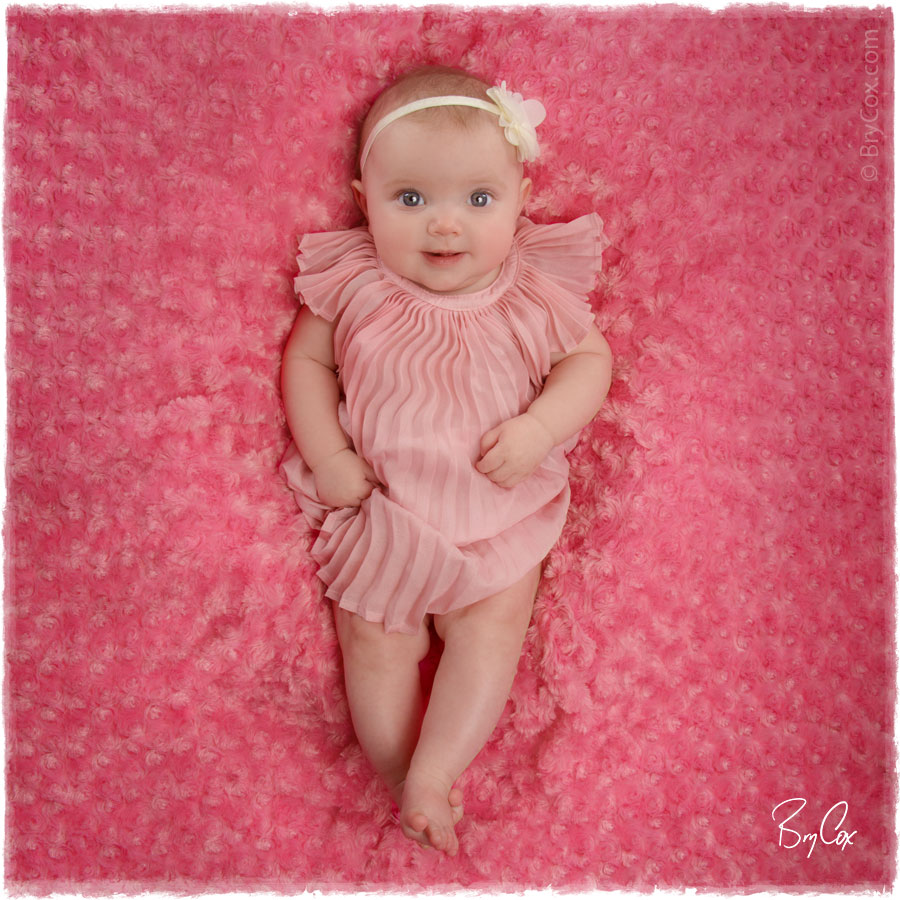
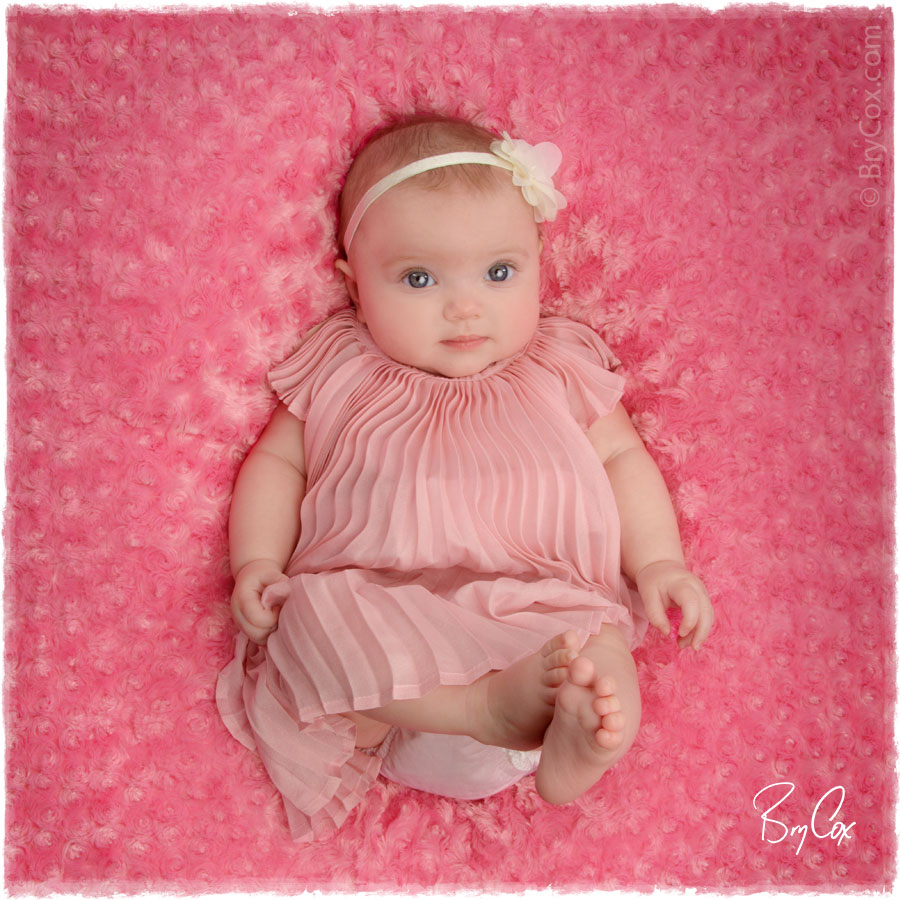
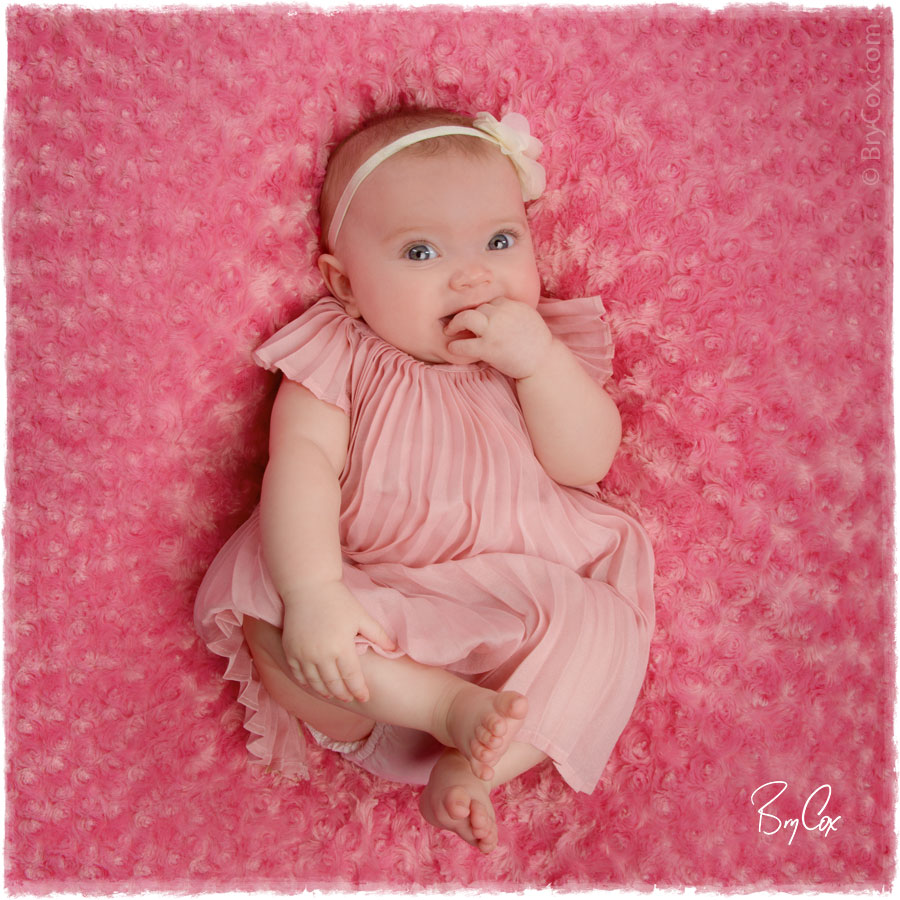
I photographed this beautiful baby yesterday, and she’s so adorable and captivating that I have to post some early favorites. I was going to share these in about a week because I have other images queued up to share, but this pretty little face has been on my mind all day, so she’s bumping the other shoots back.

Throughout the shoot she was so happy and cute, and just smiled and smiled at me. Her little face and big round eyes kept me gazing.

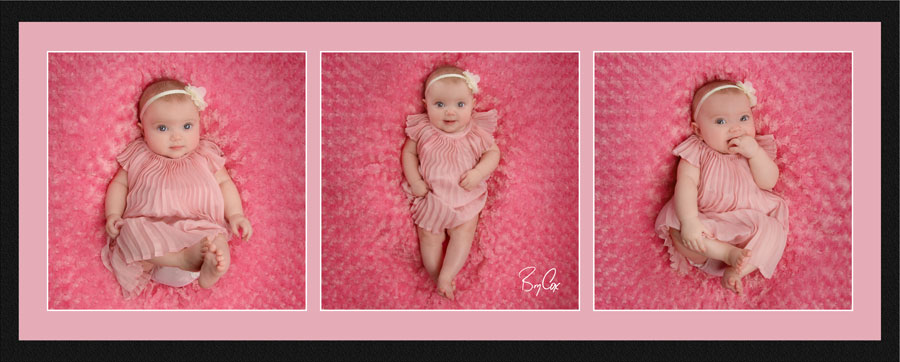
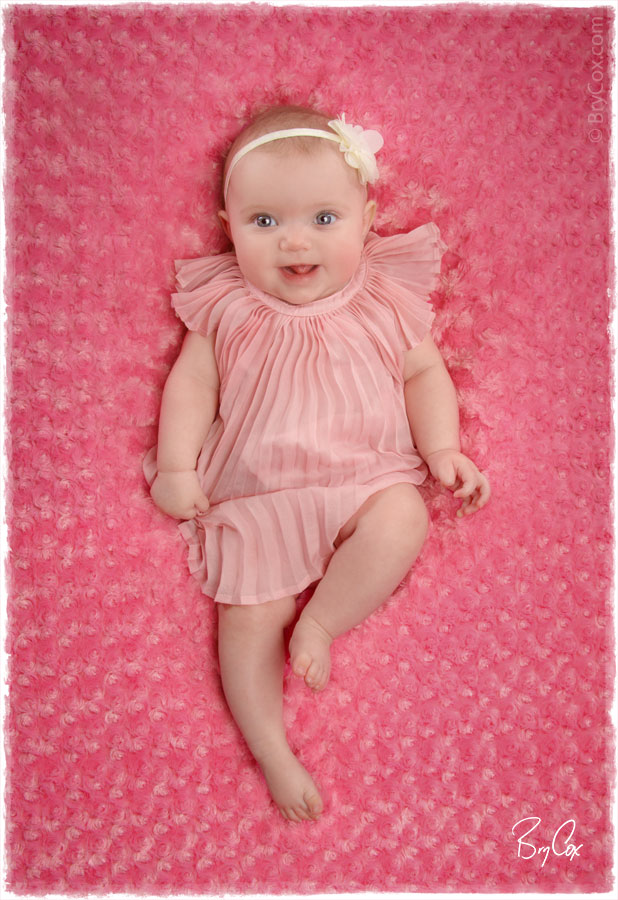
She came with this beautiful little pink dress so I set up this all-pink background and some custom lighting to make everything pop. I got a lot of great images in both this pink setup as well as other color schemes. I’ll for sure share some of the others soon.

I love these first three images as squares either on the wall separately as canvases, or framed together in this smaller trio design.

Finally, this one of her kicking her feet and smiling with her tongue is great as a longer stand-alone image.

I love photographing babies, so if you’d like some fantastic portraits of your little baby, give me a call at 801-728-3317. I’d love to create something special for you for the holidays.

And until next time, America.

My “Company Party” Christmas Card

Merry Christmas, everyone! This year I re-used my previous card because it took so much work to create it originally. It’s a group portrait of me, taken at my company Christmas party.

Cox-Christmas-2013-Card-Design-2-finalChildren especially have told me that they like my cards and can’t figure out how I can be in so many places at once. To see how it was made, check out my original post that explains all of the time-consuming details.

I love that this holiday is about people taking the time to go out and specifically shop for others. It’s a great time for selflessness, and a time to remember the reason for the Savior. I hope all of you have a joyous season with family and loved ones. Merry Christmas!!

And until next time, America.

Liz & Dewayne’s Wedding Album

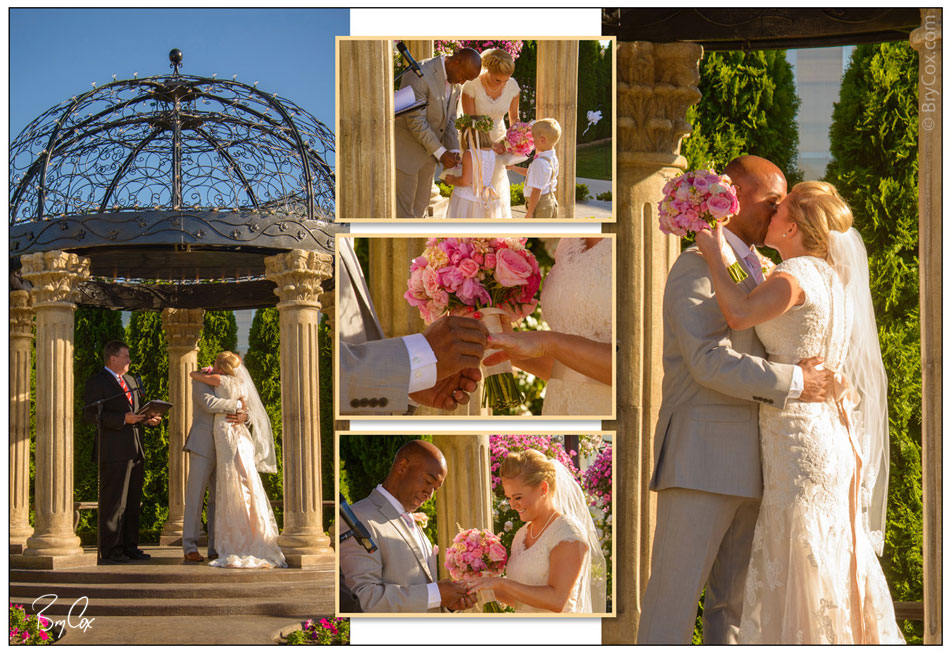
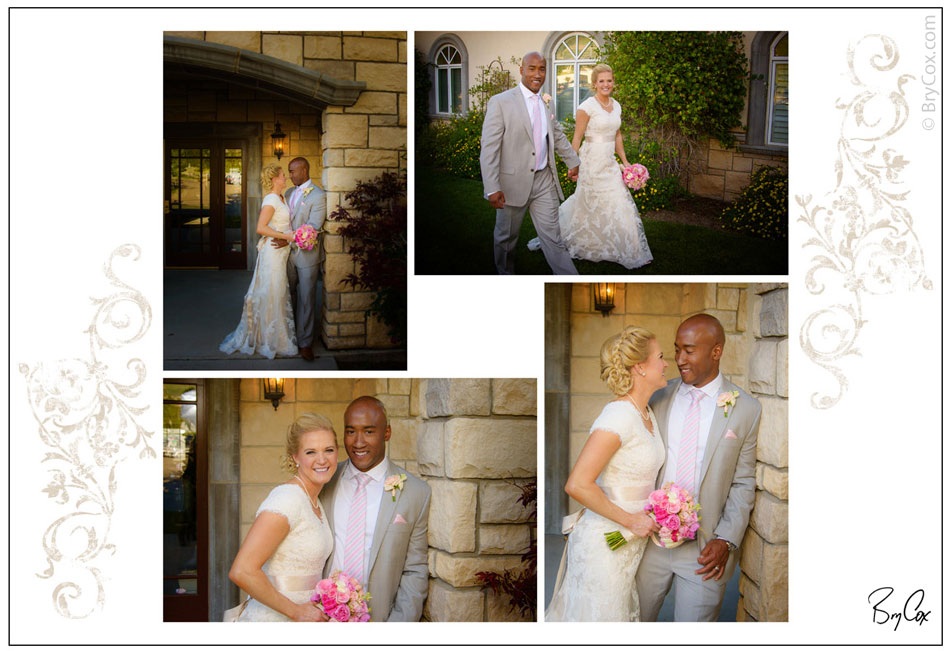
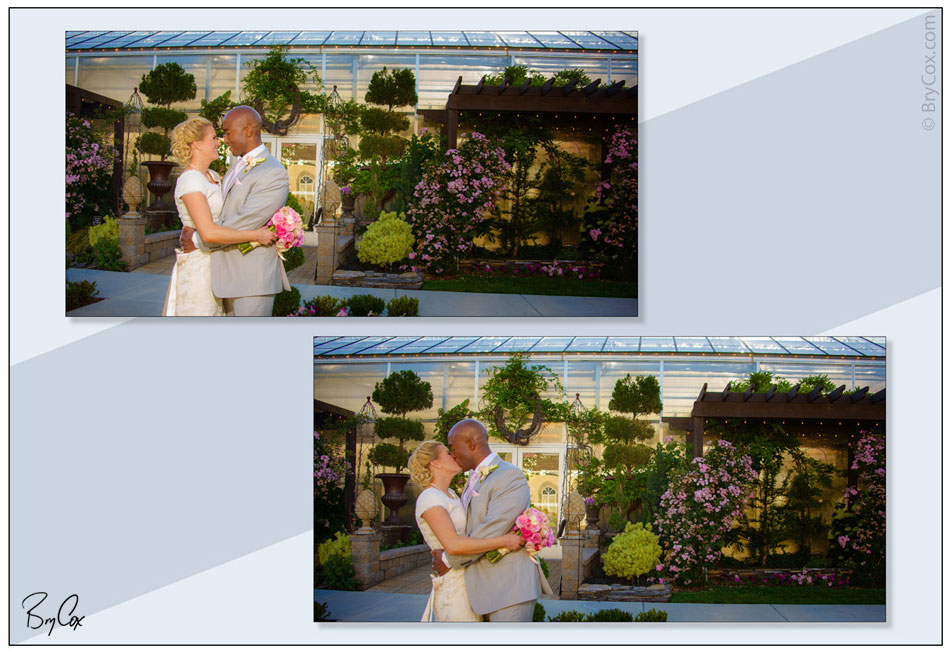
I’m really excited to share the finished wedding album for Liz & Dewayne’s wedding. I love being a part of weddings and producing these awesome albums for couples and find fulfillment in seeing how all of the work comes together in these gorgeous products. I shot a video of me going through the book page by page. I talked about my approach to photographing weddings and how my offerings are different and unique. Then at the 4:45 minute mark I share each page of Liz and Dewayne’s album. I uploaded a full HD version of the video so you could watch it with clarity and with more detail full-screen if you’re so inclined.

Liz and Dewayne are a great couple to work with and their previous shoots that I’ve posted to my blog and Facebook have created a huge response, so aside from my own excitement, I know there are a lot of people who want to see their final book.   Here are some of the double-page spreads from their album.

BryCox_Dewayne-1 BryCox_Dewayne-2 BryCox_Dewayne-4BryCox_Dewayne-3 Their wedding was held at the beautiful La Jardin wedding center in Sandy, Utah just outside the metro Salt Lake City area. If you’d like to see Liz and Dewayne’s previous shoots, both their pre-wedding images and their engagements are here on my blog.

If you are getting married and want the best possible romantic and beautifully lit photographs possible, give me a call at 801-728-3317 and let’s talk more about your dream day.

Until next time, America.

How I Created My New Christmas Card, A Self Group Portrait

My Christmas Card is out and in the mail. If you haven’t seen my past Christmas cards, for the last few years they’ve all been group portraits of me, but in the studio. My idea is that it’s a funny company group photo from my own Christmas party. My clients know that because of the custom work that I do, I personally see each job through from beginning to end, which also means that I wear a few different hats. The card is a growing joke, and each time I’ve done it a little better. But this time I really wanted to out-do myself!

Cox-Christmas-2013-Card-Design-2-final

Clients, especially children that come in are always asking me how I shoot my group photos of myself, so I decided to share with you my process.

First I mapped out the entire shot, and decided on which images I’d need, where the various people would be positioned throughout the image. I needed depth, but didn’t want anyone in front of anyone else. I even have three people tied together with garland, all handing each other the same strand. It all has to look real and work. Each person had to be working together naturally, and that meant thinking about how the angles and lighting should be.

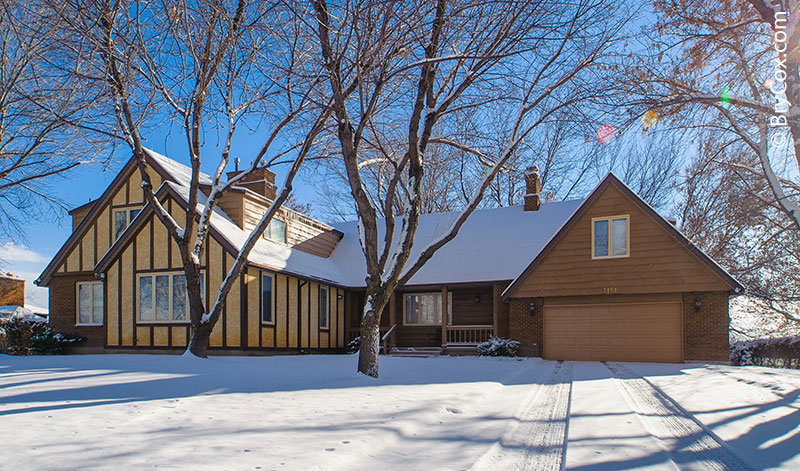
Once it was mapped out, I began photographing the pieces. I started with my studio/home. I needed to use open area of the front and didn’t want it covered with the cedar fence and line of trees in front. So I used a wide angle up close to get the entire home in the shot without the fence and trees you’d see from the street. This gives me the best angle on the place but causes bending on the vertical lines, that I will fix later.
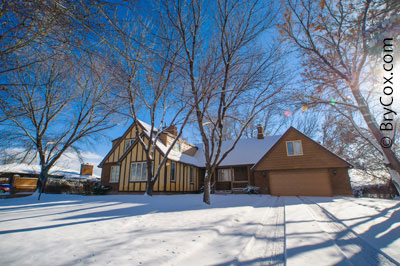
Cox_Christmas2013-104

Next I photographed my folks’s tree in their home. My mom always puts together the best tree.Cox_Christmas2013-114

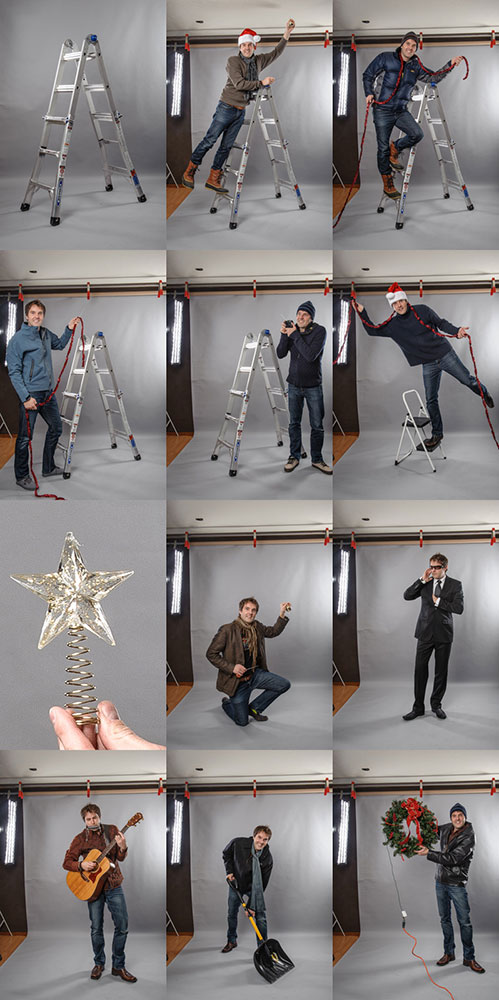
Then back at the studio I photographed each remaining part on my fashion gray background so that they could be extracted off the background easier. Extractions are not easy nor fast, but a solid gray background makes it easier at least.

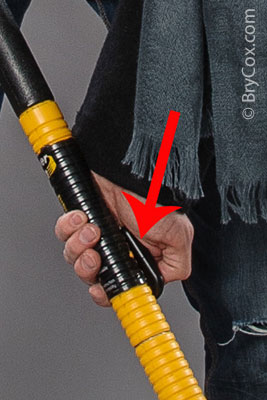
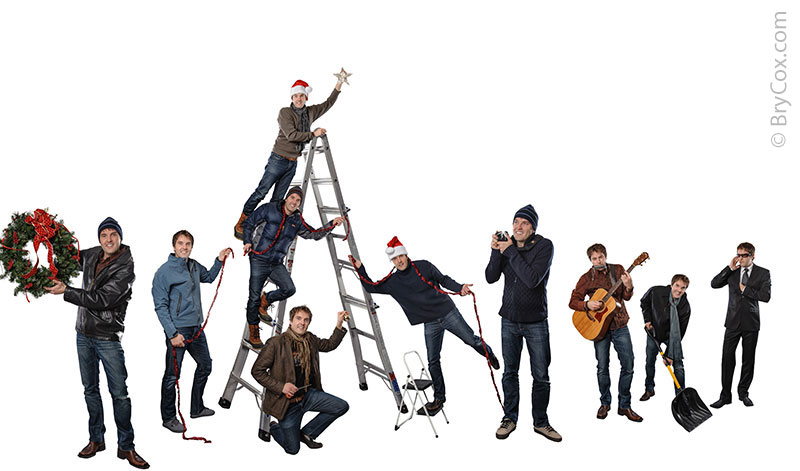
To fit a large ladder in the studio on gray, I chose my smallest ladder, and doubled the size of the legs digitally, adjusting too for the perspective of the steps. I then photographed each version of myself, imagining where each would be positioned in the final image, but used the same step on the ladder to stand so that I’d fit in the studio shot.Cox_Christmas2013-groupEach photograph was fired with a remote that I am holding with one of my hands. For instance, in the shovel image, I’m holding the remote up against the shovel’s handle. Once I’m in position, I fire the shot. After each shot, I change clothes, set up the next image, and shoot again.
Cox_Christmas2013-198-2

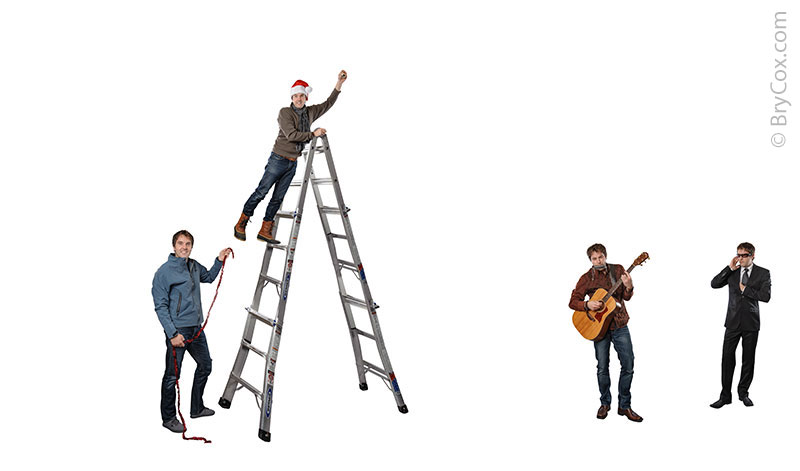
After all the camera work, the digital work begins. I started with the individual versions of me, each extracted off the gray background and placed in the shot where they were mapped out. The ladder was also extended taller, being key to making sure all the other people were in the right spots and in proper perspective.
Cox-Christmas-2013-Card-Design-1b

Slowly the group began to grow, and the star was added in the hand on top.Cox-Christmas-2013-Card-Design-1c
Then I extracted the tree off the living room background and prepped it.

Cox-Christmas-2013-Card-Design-1a

The tree was brought in and more details were brought together.Cox-Christmas-2013-Card-Design-1d
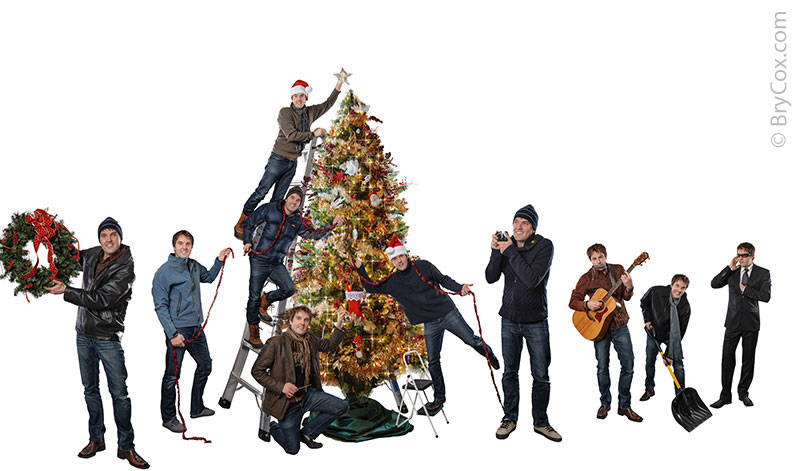
 

Then to the background. I corrected the vertical lines, and the image was cropped to fit the final piece.Cox-Christmas-2013-Card-Design-1e
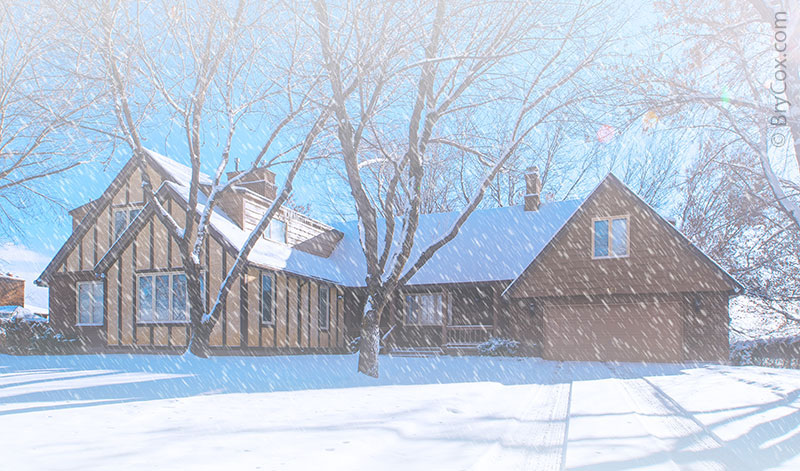
I then created snow from scratch and added it throughout, fading out the home as well for a misty look and to keep the background from being too busy and competing visually with the foreground.Cox-Christmas-2013-Card-Design-1f
The background was added to the crowd, and more details were added like sparkles on the Christmas tree’s lights.Cox-Christmas-2013-Card-Design-1g
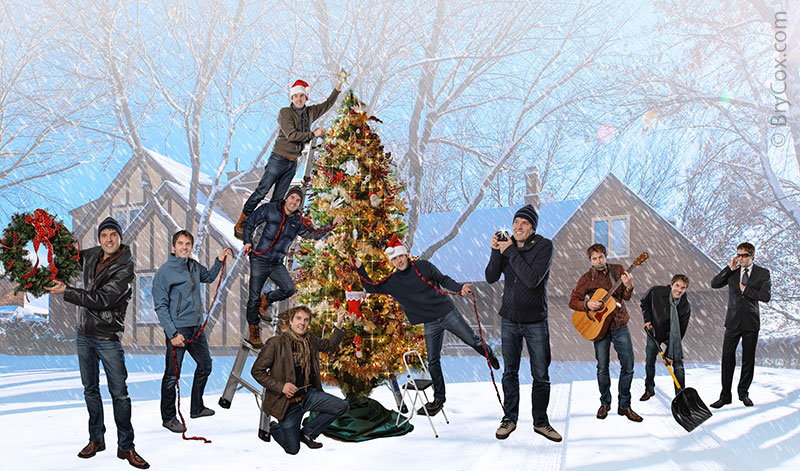
Once the background was in, people needed to be moved slightly on the right side to work better with the background. Once they were in place, shadows were drawn in so that each person and object cast a shadow that matched the lighting from the sun behind. Each point of contact with the snow was then painted up close so as to “drop” everyone into the snow so they didn’t look like they were on top. That, along with the shadows, help give the final piece a more 3D look and not a flat, fake look. There’s much more I could do to make it look real, but a little of that fake look will help with the comedy effect.

The star was also given a nice sparkle. More snow was added around the edges to create a natural white vignette to keep the focus inside the image, and the tree’s trunk was finished as well.
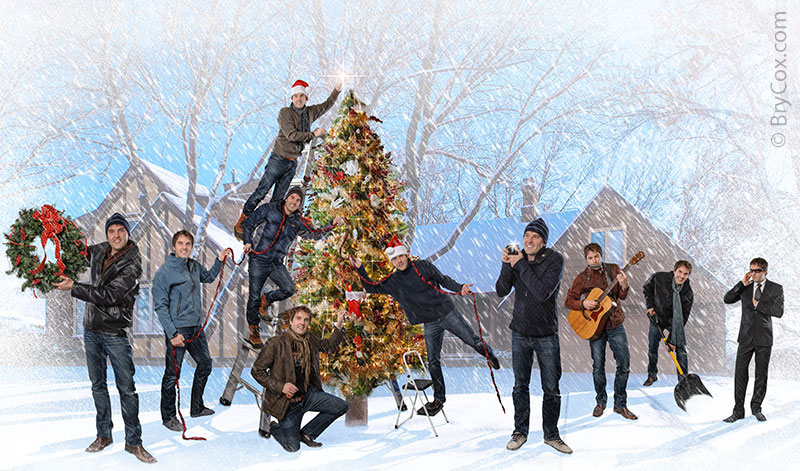
Cox-Christmas-2013-Card-Design-2h

Finally, I used one of my custom edges to finish the piece, added the text, and the legend of who everyone is at the bottom. And the finishing touch as always, is adding my signature, in this case in the bottom left.

Cox-Christmas-2013-Card-Design-2-final

So what’s your guess on how long it took to complete this project? All in all, it took about 23 hours including both the camera and digital designing time, and that doesn’t count working with the printer and mailing company to get it all out to each of you. Hopefully when it comes, it brings a smile to your face. If your address has changed, let me know so that I can update it for the next mailing I send out.

I hope all of you have a joyous season with family and loved ones. Merry Christmas!!

And until next time, America.
The BEST Award Winning Wedding Albums for the BEST Images!

When you hire Bry Cox as your personal wedding artist, you get four areas of expertise — four things that no one else can match: (1) an internationally acclaimed and award winning photographer, (2) the best photographs of you and your wedding day, (3) the best album design and layout, (4) and the best built album possible!
Plus there are various collections that can be customized to fit your budget and investment level!

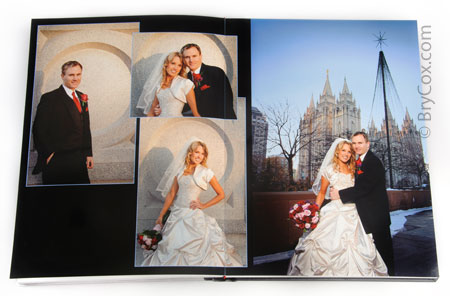
As one of the only Master portrait photographers in Utah, I know just how to make you look amazing and real, without making you look stiff, even in candids!  I then take those beautiful images and instead of using a pre-designed, drag-and-drop album templates, or an out-of-town design house (full of people who don’t know you and weren’t at  your wedding), I instead personally design each page from scratch.  I design each page to be a vignette or mini story with impact and emotion, so that every page turn makes you say, “WOW!”

It’ll be completely unique because I also use my own edges, fleurs, and other embellishments that I personally have created.  It’ll be unlike any album you’ve ever seen.

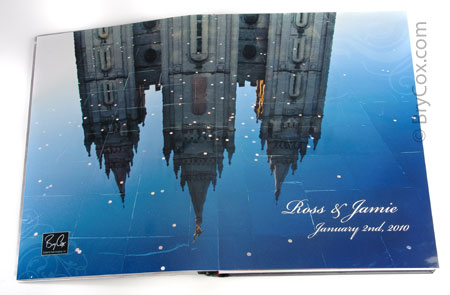
Finally, each double-page spread is printed as one large print, avoiding a gap or seam down the middle of the page.  Each page is coated for protection, then bonded to a stiff art board.  The pages are then book-bound by artisans in Italy into your custom first-edition book.

Why go through all this trouble?  Because portraits matter!  These images and album will be an heirloom for you and your future family to enjoy.  There’s a lot of things that you can spend money on for your wedding, but only photographs will last generations.  Everything else is gone the next day.  Your photographs are an investment — they actually get more and more valuable as time goes on.  Have you ever heard of someone running into a burning house to save a couch?

So why stop at the end?  Why create great images, do a great design, but then finish it off in cheap book that won’t last?  In fact some photographers use albums that don’t even last them a year or two as a sample.  The more people look at them, the more they begin to fall apart.  Mine on the other hand look brand new, even after winning awards and traveling around the country, being handled by hundreds of people at conventions and bridal shows.  They really are built to last and look beautiful!

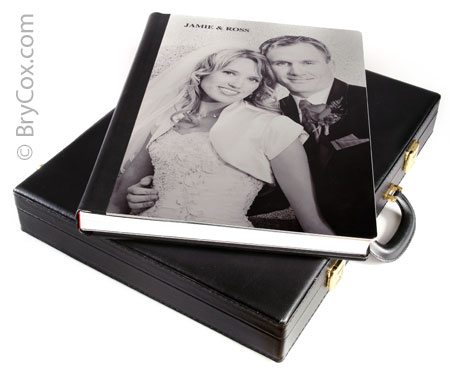
You even have your choice of covers, from a classic full leather (in black or other colors), to an etched photo metal cover (shown in top image).  And your wedding album will also be presented in a black briefcase for storage, carry, and protection.

When it comes to the best image creation, the best album design, and the best albums, nobody can do all three things at the level at which I’ll do them for YOU!  Come meet with me and see them first hand to see the difference for yourself.  I think you’ll find that the images, design, and workmanship will all be a perfect fit for you.

To make an appointment for a free consult, call the studio at 801-728-3317.

Then check out some entire wedding album designs here on my blog (category: Wedding Day, Albums) or on my website (click on Weddings > Albums).